
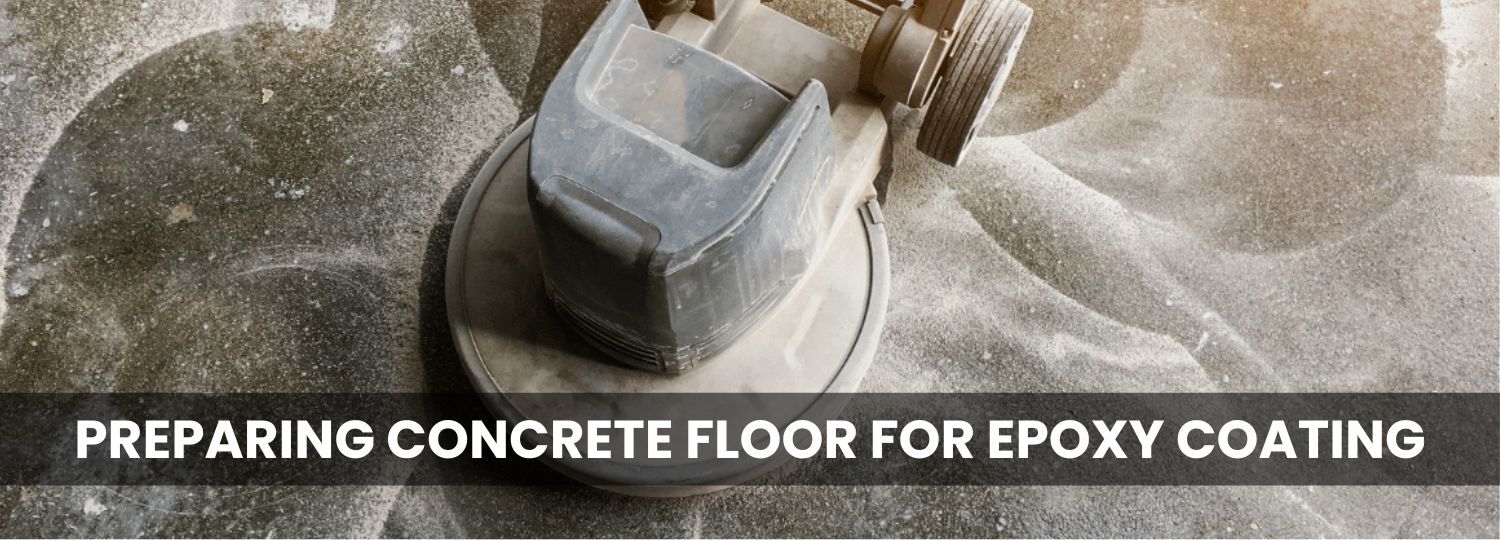
HOW TO PREPARE YOUR CONCRETE FLOOR FOR AN EPOXY COATING
HOW TO PREPARE YOUR CONCRETE FLOOR FOR AN EPOXY COATING
Preparation is the most important step in ensuring a successful epoxy floor coating. Proper preparation ensures strong adhesion, durability, and a professional finish. Below, we’ve outlined the best practices for preparing both new/uncoated concrete and previously coated concrete.
- PREVIOUSLY COATED CONCRETE
- Remove Damaged Coating:
- Use diamond grinding or shot blasting to remove the existing coating completely. This ensures the new epoxy can bond properly.
- Need equipment? You can hire diamond grinders from us in Sydney or your local hire shop.
- Repair Damage:
- Patch cracks or spalls using Sikadur 33 (a 2-part filler) or concrete bog
- Clean Thoroughly:
- Remove oil and grease with a degreaser to prevent fish eyes.
- Vacuum the floor to ensure it’s dust-free.
- Moisture Check:
- Ensure the floor is fully dry with a moisture content below 3% before applying the epoxy.
ACID ETCHING IS NOT A SUITABLE OPTION FOR PREVISOUSLY COATED FLOORS
- NEW OR UNCOATED CONCRETE
- Curing Time: Ensure the concrete is at least 28 days old before applying any coating. Fresh concrete needs time to cure and release moisture.
- Surface Preparation:
- Remove the top layer of concrete using diamond grinding or shot blasting. This removes sealers, densifiers, and laitance while opening the pores for proper epoxy adhesion.
- Need equipment? You can hire diamond grinders from us for a reasonable price in Sydney or your local hire shop
- Repair Damage:
- Patch cracks, spalls, or uneven areas using Sikadur 31 CFN or our Ultrakote Epoxy Repair Mortar
- Clean Thoroughly:
- Remove oil, grease, and contaminants with a degreaser. Untreated oily spots can cause fish eyes in the epoxy.
- Vacuum the floor to ensure it’s dust-free.
- ACID ETCHING (ALTERNATIVE PREPARATION METHOD)
Acid etching is a viable option for DIYers when grinding isn’t feasible. However, it requires careful handling to ensure safety and effectiveness. Improper etching can damage the concrete or compromise the coating’s adhesion.
What You’ll Need:
- Muriatic Acid (Hydrochloric Acid): Available at pool shops or hardware stores.
- Protective Gear: Gloves, goggles, and a respirator.
- Tools: Plastic watering can, push broom, scrub brush, hose, and a pressure washer (optional).
Step-by-Step Guide:
- Safety First:
- Always add acid to water (never water to acid) to avoid dangerous reactions.
- Wear protective gear and ensure proper ventilation.
- Clean the Floor:
- Remove all oil, grease, and dirt. Acid won’t clean these contaminants—it will only sit on top of them.
- Test the Acid Solution:
- Mix a small batch at a 20:1 water-to-acid ratio. Apply to a wet concrete area. If it doesn’t bubble or fizz, increase the acid strength (up to 5:1 for dense concrete).
- Dampen the Concrete:
- Lightly spray the floor with water. The concrete should be damp but not puddling.
- Apply the Acid Solution:
- Use a plastic watering can to sprinkle the solution evenly. Avoid pouring, as this can create uneven etching.
- Scrub the Solution:
- Use a push broom or scrub brush to work the acid into the concrete. Let it sit for 10–15 minutes, ensuring the surface stays wet.
- Rinse Thoroughly:
- Rinse the floor multiple times with water, scrubbing as you go. Use a mild solution of Simple Green if desired, but ensure all acid residue is removed.
- Avoid using a pressure washer, as it can drive acid deeper into the concrete.
- Dry the Floor:
- Allow the floor to dry completely (at least 24 hours in warm weather, longer in humid or cool conditions).
- Use fans to speed up drying and prevent moisture-related issues like bubbling.
FURTHER TIPS FOR ACID ETCHING
- Cover nearby surfaces with plastic drop cloths to protect them from splashes.
- Avoid etching if temperatures are below 10°C, as the acid won’t work effectively.
- Perform a moisture test by taping a plastic sheet to the floor. If condensation forms underneath, wait longer for the floor to dry.